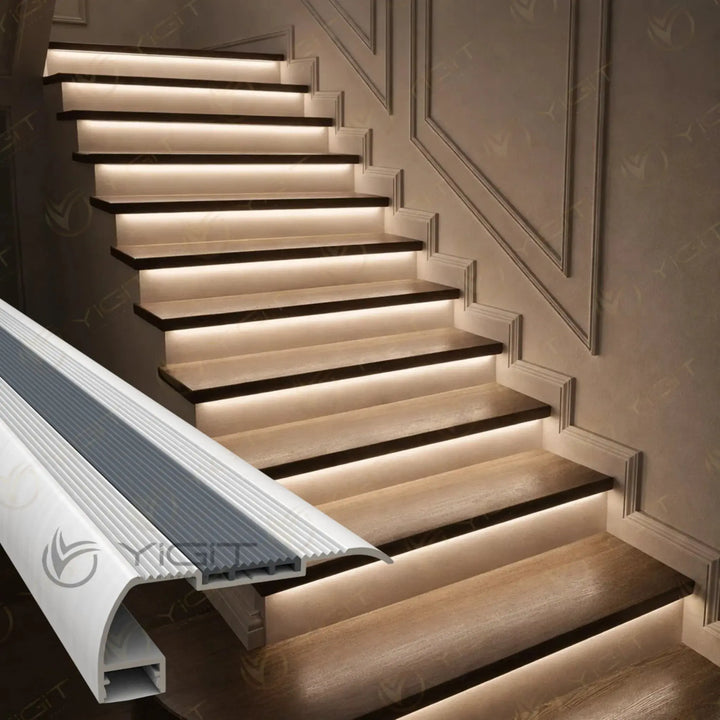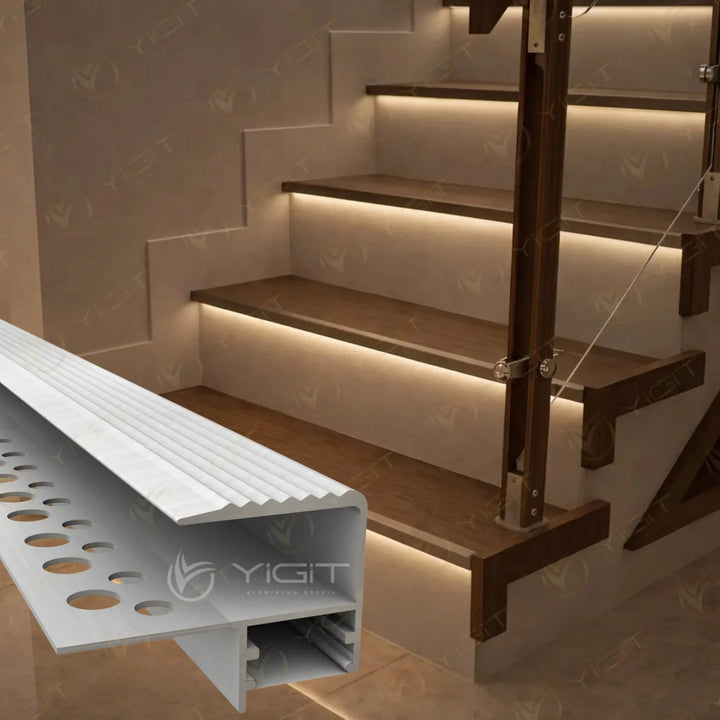


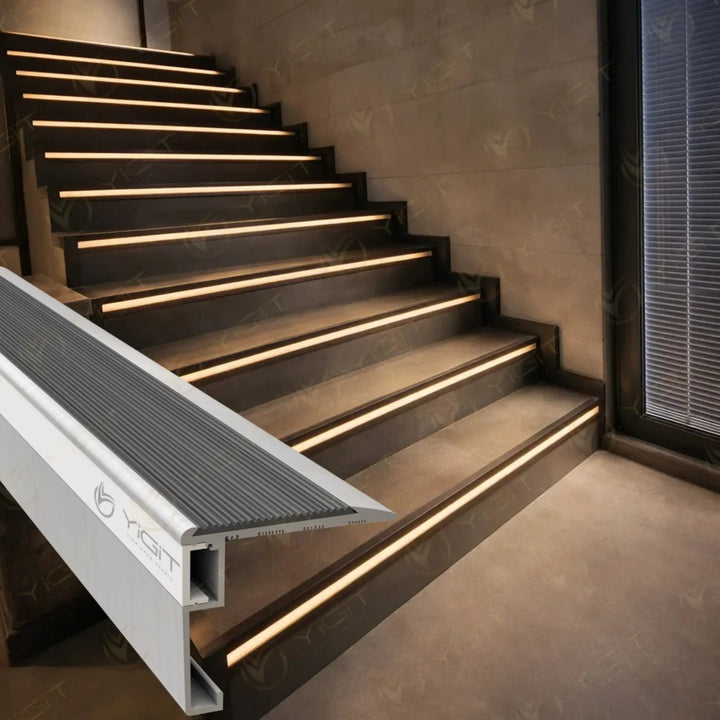
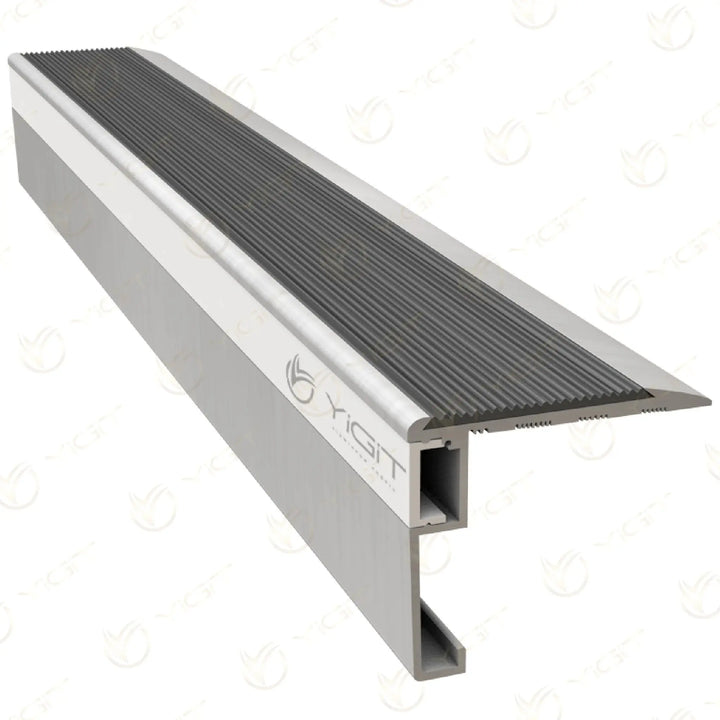
LED stair nosing profiles combine the edge finish of a stair with a line of light in a single detail. The Yiğit Alüminyum collection includes a nosing profile with a front LED channel, the 65X27 model and a between-step model that is installed with a perforated flange under the tiling. Compare the sections according to the step geometry, the laying stage and the direction of the light.
Category guide
An aluminium stair LED profile brings the channel for the LED strip together with a body that completes the step edge. The visible face of the profile gives a metal finish, while the position of the light line depends on the shape of the section. That is why the top width alone is not enough to choose a model. The nosing, the riser and the mounting part that stays under the tiling should be considered together.

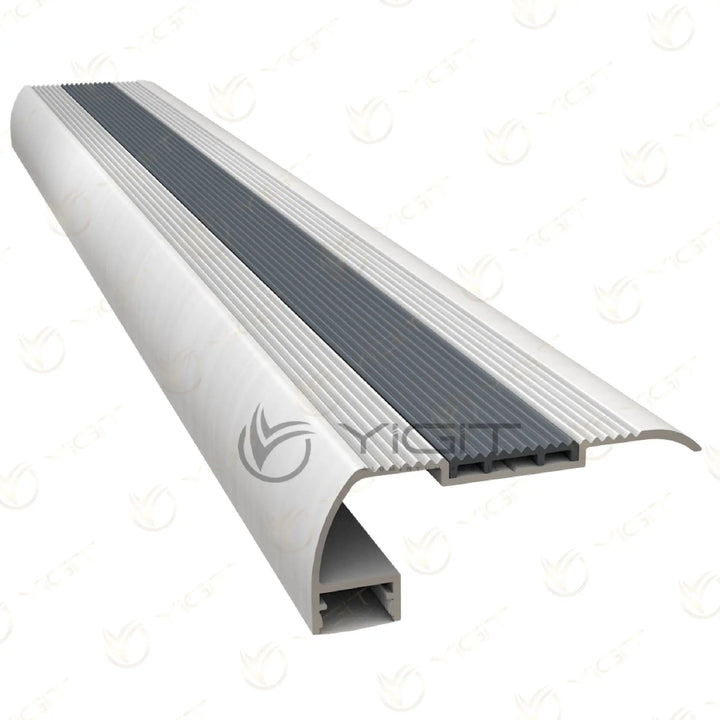
The LED Stair Nosing Profile continues from the top edge to the front face with a 61 × 52 mm outer section. The front channel and the grooved top strip define the step line with two different surfaces. This model suits details where a light line is planned on the front face.
With a 65 mm top width, this model stands out with its curved nosing and lower LED channel. Where an under-step LED profile is needed, check the position of the wide top surface on the tiling together with the light output towards the riser.
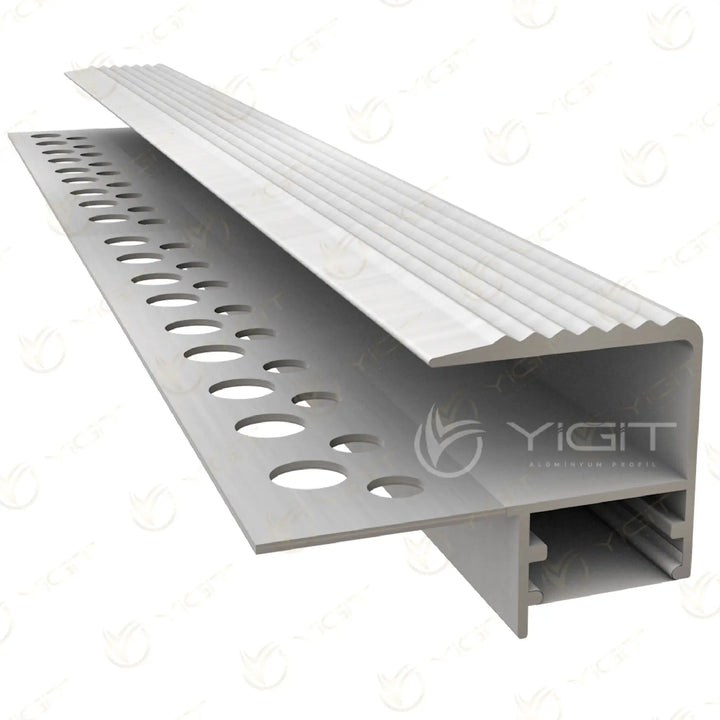
The between-step LED profile has a perforated flange that stays under the tiling. The ceramic or tile finish is arranged together with the profile during laying. The nominal 10 and 12 mm models are chosen according to the actual tile thickness and the adhesive bed.
A nosing section fitted to a finished step and a perforated flange that goes under the tiling do not follow the same installation order. First decide whether the job is new tiling or the renovation of an existing stair.
Measure the top width, the front height and the finished level of the tiling together. When choosing a ceramic stair LED profile, do not use the nominal model name in place of the actual tiling gap.
Highlighting the front face and creating downward light along the riser may need different sections. Check the LED strip width, the connection points and the cover position on the actual channel.
Consider the visible metal surface together with the stair covering. If slip-resistance information is needed for the top strip or grooves, ask for technical data for the model; assess lighting and surface performance separately.
Stair step lighting can be used in duplex homes, hotels, shops and similar interiors to make the edge line of the steps part of the design. On a stair with riser lighting the direction of the lower channel matters, while on tiled stairs the tile finish and the position of the perforated flange come first. Planning the section, layout and light level consistently on every step of the project gives a tidier result.
Before installing an LED stair nosing profile, measure the steps and decide the cutting points and the cable route. Fix the body in a way that suits the surface and the tiling system. Choose the LED strip, driver and cover together; assess power, connections and heat according to the technical data of these components. The light distribution also depends on the distance between the strip and the cover. After installation, check the cover fit, the edge joints and maintenance access.
We use only essential cookies, which are needed for the site, the cart and your order to work. For details, see: Cookie and Explicit Consent Notice