
LED Profiles

Trimless Internal Corner LED Profile

Price on request

For prices and delivery terms, contact our export team. Tell us the product, size, colour, quantity and destination country.

Message us on WhatsApp (opens in a new tab)
Custom colour request Min. 300 m

The minimum order for custom colour production is 300 metres.

metre
Request custom colour on WhatsApp (opens in a new tab)

Product specifications

Trimless Internal Corner LED Profile

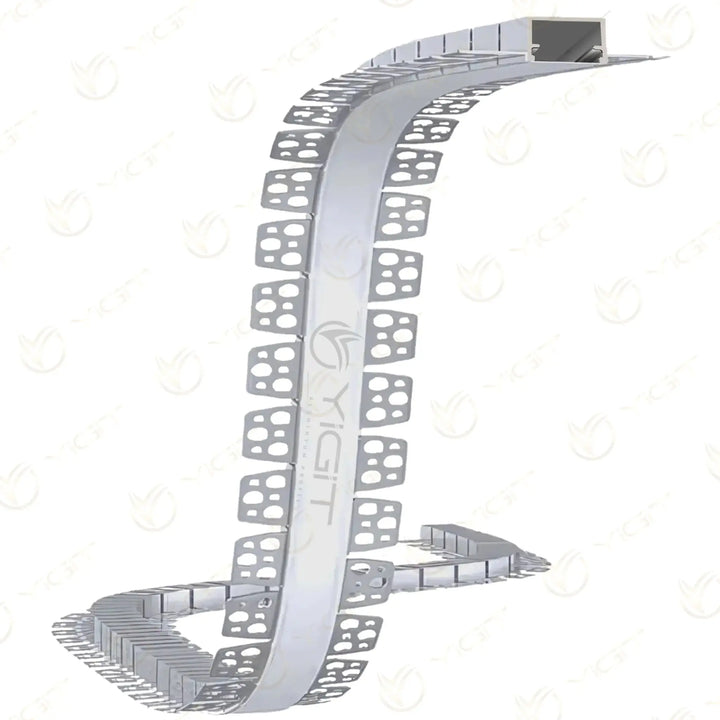
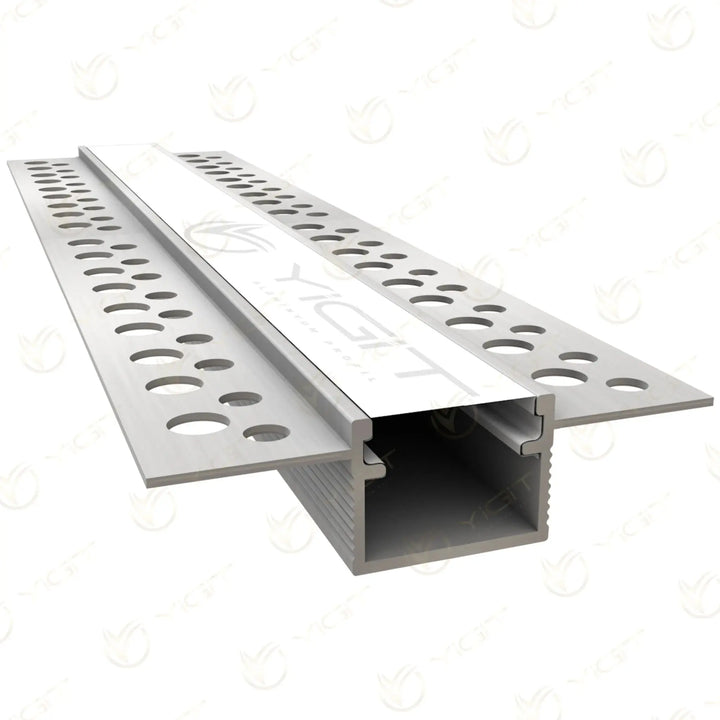
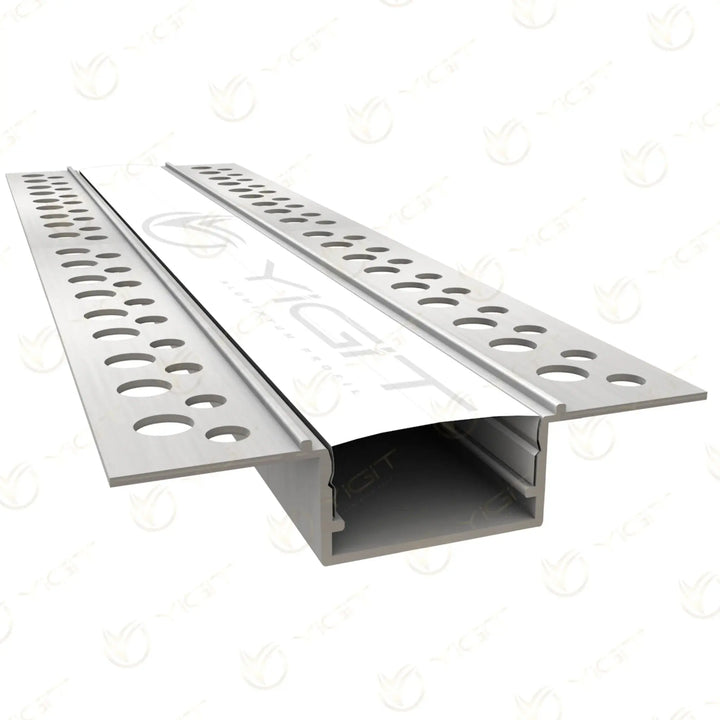
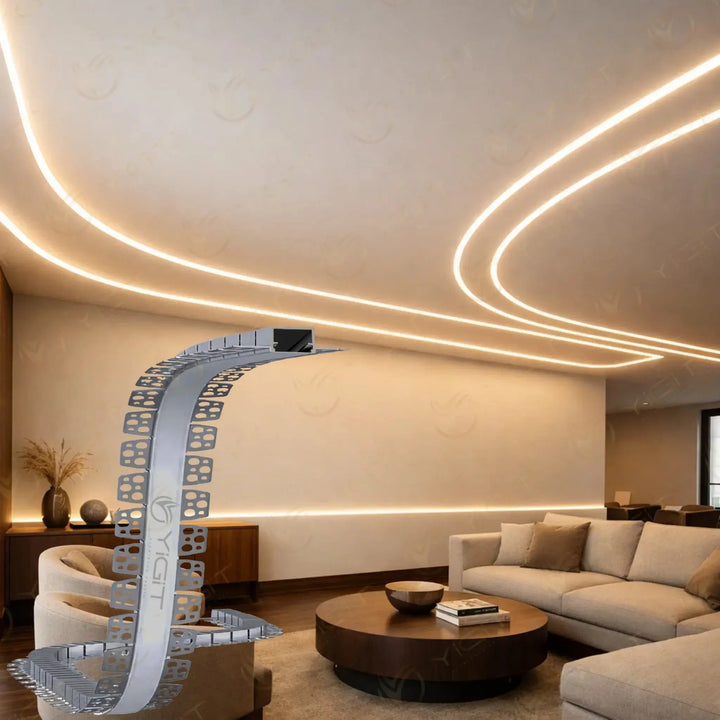
The Trimless Inside Corner LED Profile creates linear lighting where two surfaces meet at an inside corner. In the Y6245 model the LED channel sits between the angled flanges; with the perforated edges set under the plaster, the corner line is defined by light.

Technical specifications
Product code
Y6245
Material
Aluminium
Section height on drawing
37.07 mm
Standard profile length
3 m
Highlights
  • Plasterboard inside corner LED profile

    The angled position lets the LED channel run along the corner at a wall-to-wall or suitable ceiling-to-wall junction. The application angle is matched to the section.

  • Plaster-in lighting at the inside corner

    The perforated flanges help the profile blend into the plaster layers of the adjoining surfaces. The finish on both sides of the line of light is arranged together.

  • A line of light that follows the corner

    The lighting is positioned on the junction line rather than in the middle of a flat surface. This allows the geometry of niches and inside corners to be emphasised.

  • Compact LED placement

    The space set aside for the strip and connections in the angled channel is assessed with care. The compatible cover forms a neat light surface in front of the LED source.

Applications and model selection

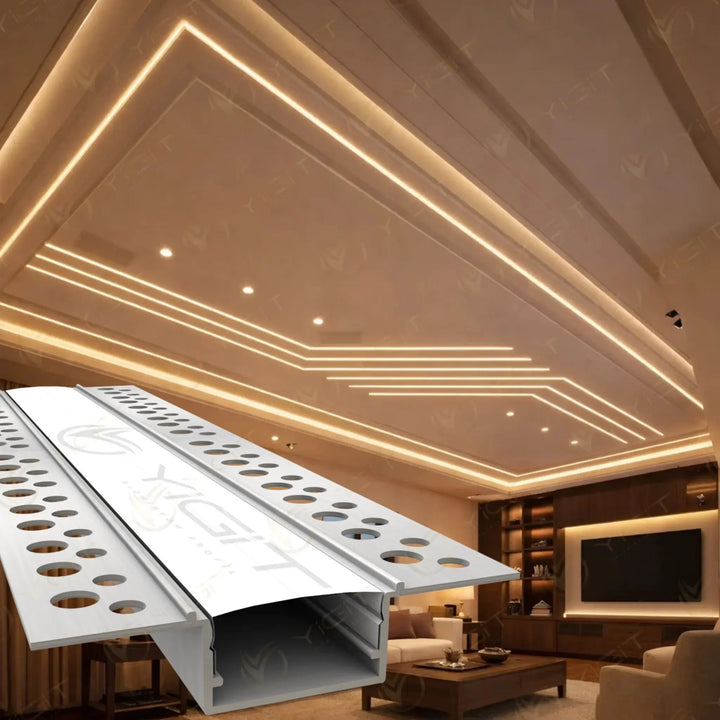
It can be considered for plasterboard inside corners, wall niches, corridor junctions and decorative ceiling details. It is chosen for projects that require an inside corner geometry; a different section is used at projecting corners.

Installation and Model Compatibility

The line of the corner and the angle between the two surfaces are checked. The profile flanges are fixed to the surfaces and plastering is completed while protecting the channel mouth. The LED strip is chosen to suit the inner seat; the cover should seat along the corner without being forced. Continuity of the line of light at the joints is tried in advance.

Made to order

Bulk Order Request

Product
Trimless Internal Corner LED Profile Y6245
metre

Include the unit. Write "Standard size" if you need the standard size.

Required fields · Personal data notice (KVKK)

See the difference in lighting

The same space, a different appearance.

Standard spot lighting

Standard spot lighting

Lighting layout
Point lighting layout
Appearance on the ceiling
Visible round fittings
Design
Conventional ceiling appearance
Trimless LED profiles

Trimless LED profiles

Lighting layout
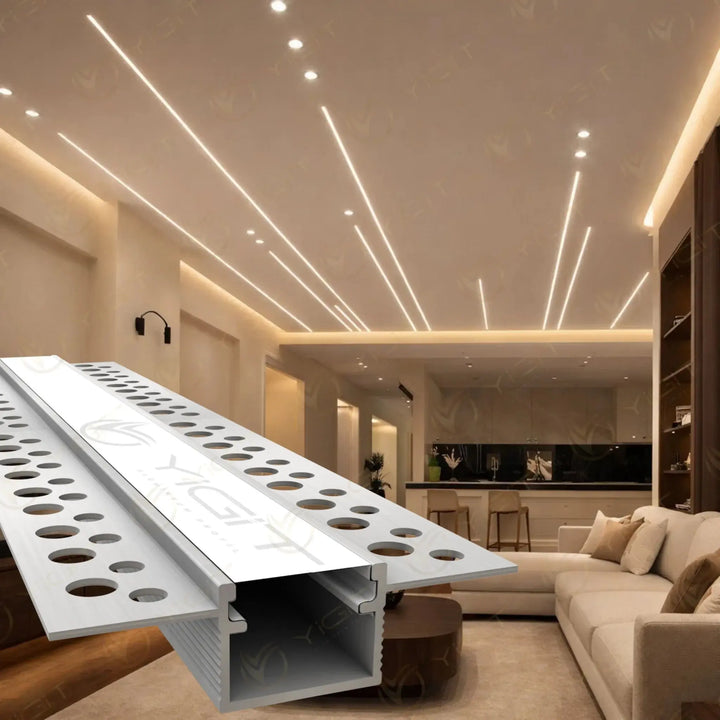
Continuous lines of light
Appearance on the ceiling
Flush with the ceiling, trimless appearance
Design
Linear design tailored to the space

Representative lighting designs.

Step-by-step installation

  1. Cut the channel

    Cut the channel

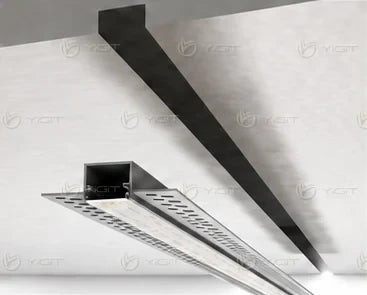
    Cut the plasterboard to the profile size to open a channel.
  2. Position the profile

    Position the profile

    Place the profile squarely in the channel you have cut.
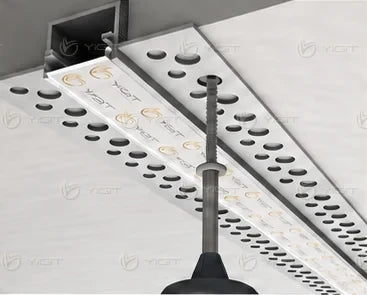
  3. Fix with screws

    Fix with screws

    Fix the profile with screws through the mounting holes in its flanges.
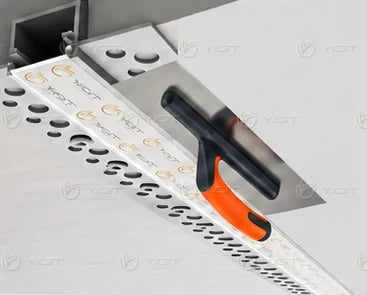
  4. Apply plaster

    Apply plaster

    Cover the perforated flanges with plaster and level the surface.
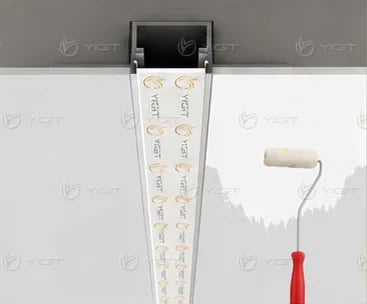
  5. Finish the painting

    Finish the painting

    Once the surface is dry, complete the painting.
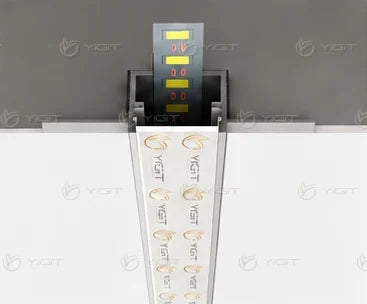
  6. Fit the LED strip

    Fit the LED strip

    Place the LED strip or modules in the inner channel of the profile.
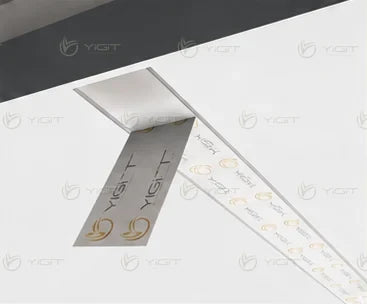
  7. Remove the protective tape

    Remove the protective tape

    Carefully peel the protective tape off the diffuser cover.
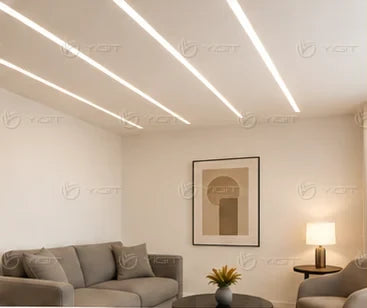
  8. Switch on the light

    Switch on the light

    The result is continuous light and a clean finish.

Do not remove the cover during installation

Wrong:Screwing without the cover
Screwing without the cover

The inner opening can narrow, making the cover difficult to fit afterwards.

Right:Installation with the cover fitted
Installation with the cover fitted

The cover maintains the profile’s inner dimension during installation.
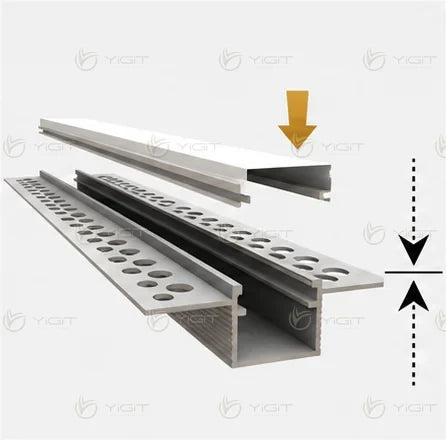
Correct installation sequence

  1. Position and screw in place with the cover fitted.
  2. Plaster and paint with the cover and tape in place.
  3. When installing the LEDs, remove the tape first, then the cover.
  4. Fit the LEDs and refit the cover.

How is the diffuser cover fitted?

  1. Align the parts

    Align the parts

    Align the trimless profile and the diffuser cover for fitting.
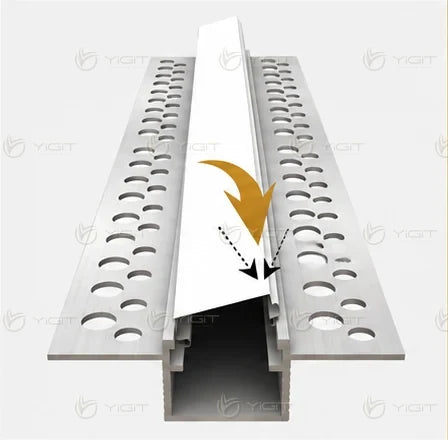
  2. Seat one edge

    Seat one edge

    Seat one edge of the cover in the channel and apply pressure to the other edge.
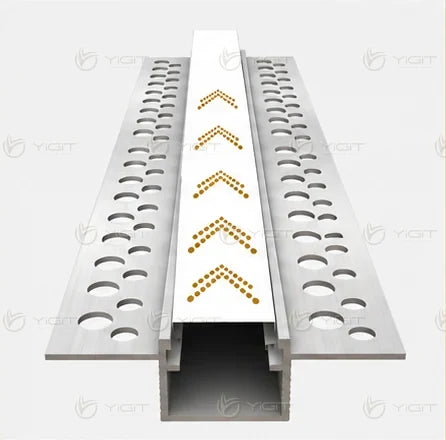
  3. Press along the full length

    Press along the full length

    Starting from the end, press the cover into place along its full length.
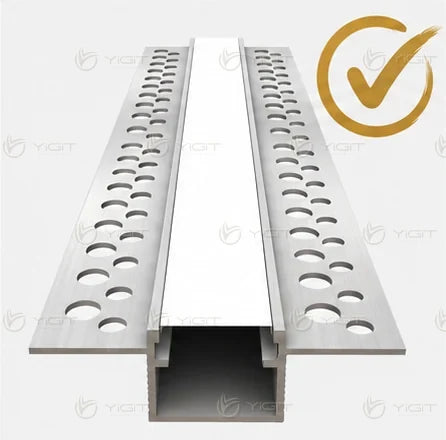
  4. Complete the fitting

    Complete the fitting

    Make sure the cover is fully seated along the profile.
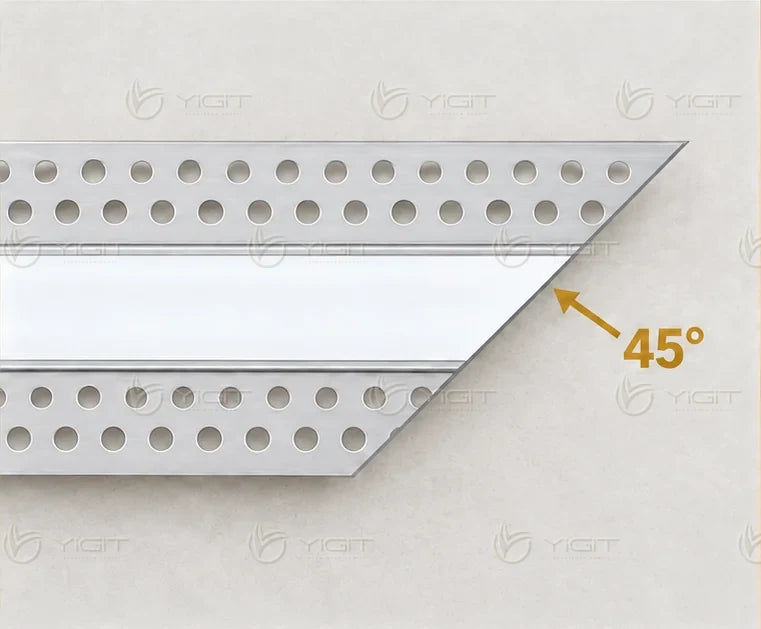
45° cut for corner turns

  1. Cut at a 45° angle

    Cut at a 45° angle

    Cut the profile ends that will meet at the corner at a 45° angle.
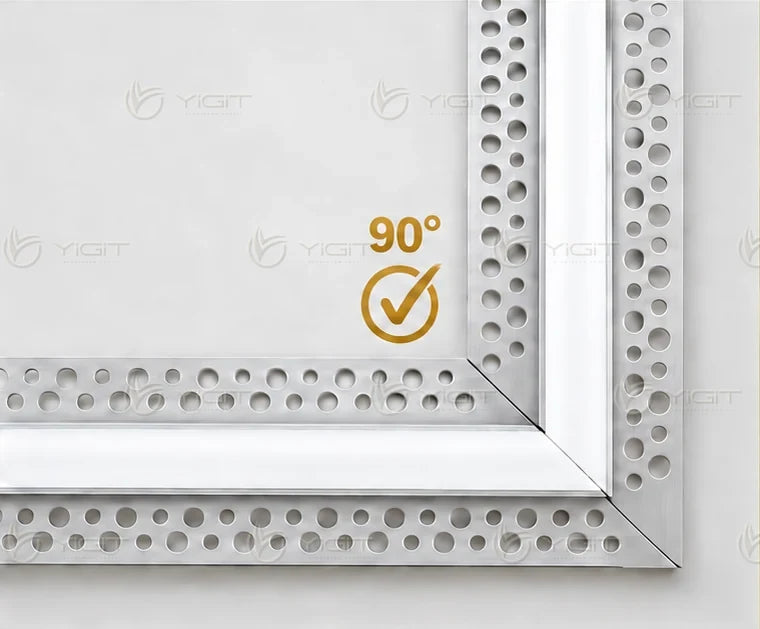
  2. Form a 90° corner

    Form a 90° corner

    Align the cut ends in the same plane and join them.

LED strip comparison

More chips per metre, more uniform light.

  • 60-Chip LED Strip

    Distinct points of light

    60-Chip LED Strip
  • 120-Chip LED Strip

    More closely spaced points of light

    120-Chip LED Strip
  • 240-Chip LED Strip

    A more uniform, smooth line of light

    Recommended choice

    240-Chip LED Strip
  • COB LED Strip

    Dot-free, continuous line of light

    Recommended choice

    COB LED Strip

Representative comparison for the same profile and diffuser.

Where is it used?

All applications

Frequently asked questions

Which colour options are available?

Colour and finish options vary by product. For products with more than one option, the selection is made in the purchase area. For products with a single finish, the finish is stated under Product Specifications. For colours outside the standard options, you can submit a custom colour request with a RAL code.

Can I get a price for project and wholesale orders?

Yes. If you send us the project quantity and the application area on our WhatsApp line, we will prepare a quote for you.

Can I see a sample before buying?

Yes. With the sample button on the product page you can add a 10 cm sample of this profile to your cart. The sample appears as a separate line in the cart.

Up to 12 monthly instalments

You can pay for your purchase in instalments with the cards below.

  • BonusGaranti BBVA12 instalments
  • WorldYapı Kredi12 instalments
  • Maximumİş Bankası12 instalments
  • AxessAkbank12 instalments
  • CardFinansQNB12 instalments
  • ParafHalkbank12 instalments
  • AdvantageHSBC12 instalments
  • BankkartZiraat Bankası12 instalments
  • Sağlam KartKuveyt Türk12 instalments

The instalment amount and any interest are shown at the payment step according to your card.

What do our customers say?

Reviews are taken from our Google Business Profile. You can write a review on Google about the product you bought from us.

4.7 87 reviews

Reviews are taken from our Google Business Profile.

Direct from the manufacturer

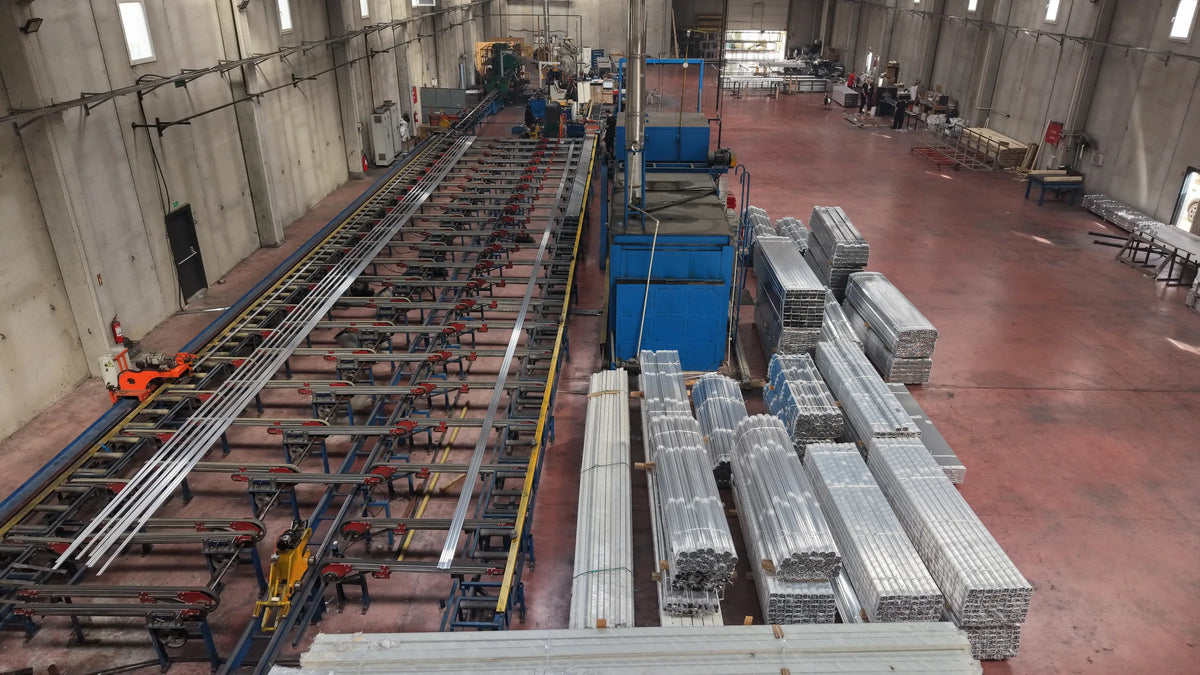
Yiğit Alüminyum has been manufacturing aluminium profiles since 2007. See our production process, from die to dispatch.

View the production process
Cart

Your cart is empty.

Browse products