



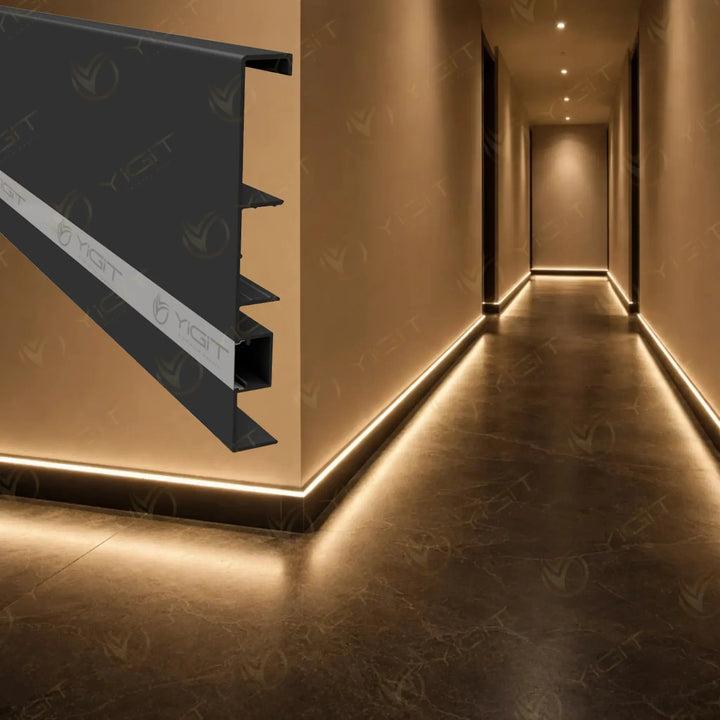
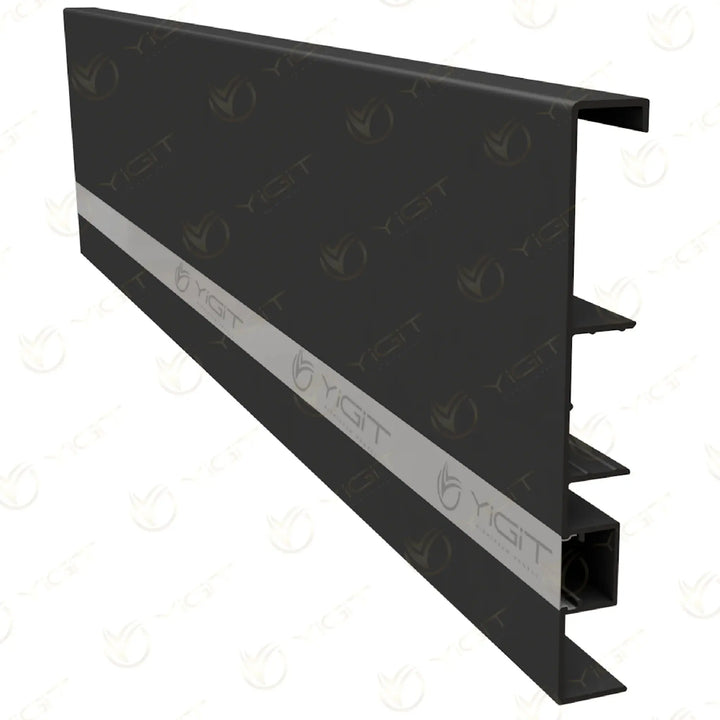


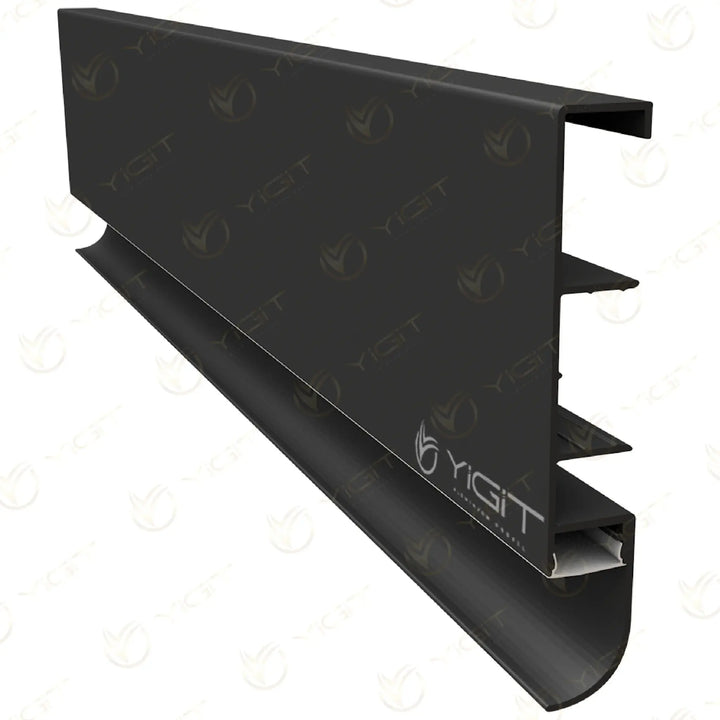
Images are representative; the colour and size you select may differ from the image.
LED Profiles
Price on request
For prices and delivery terms, contact our export team. Tell us the product, size, colour, quantity and destination country.
Message us on WhatsApp (opens in a new tab)The minimum order for custom colour production is 300 metres.
Mark the profile to the length required and cut it straight with a metal-cutting saw.
Remove the backing tape from the strip and press it along the full length of the channel base to stick it down.
Take the power cable out through the end of the profile or through a hole you have drilled.
Fix the profile to the mounting surface with clips, screws or adhesive.
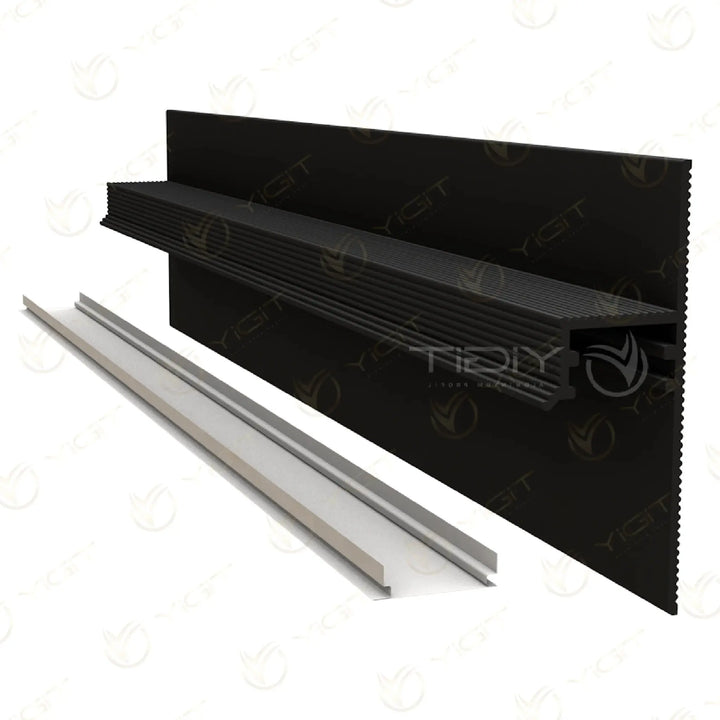
Press the cover into the channel until it seats, then fit the end caps.
Insert one end of the cover into the channel at the end of the profile.
Press the cover with your thumb to seat it in the channel along the profile.
Close both ends of the profile with the end caps.
| Spot lighting | LED profile | |
|---|---|---|
| Appearance of the light | Separate points of light on the ceiling | A single, continuous line of light |
| Light distribution | Bright under the spotlight, shadowed in between | Even along the profile |
| Glare | The light source is directly visible | The cover diffuses the light and hides the source |
| Mark on the ceiling | A separate hole for each spotlight | A single thin line |
More chips per metre, more uniform light.
Distinct points of light

More closely spaced points of light

A more uniform, smooth line of light
Recommended choice

Dot-free, continuous line of light
Recommended choice

Representative comparison for the same profile and diffuser.
Colour and finish options vary by product. For products with more than one option, the selection is made in the purchase area. For products with a single finish, the finish is stated under Product Specifications. For colours outside the standard options, you can submit a custom colour request with a RAL code.
Yes. If you send us the project quantity and the application area on our WhatsApp line, we will prepare a quote for you.
Yes. With the sample button on the product page you can add a 10 cm sample of this profile to your cart. The sample appears as a separate line in the cart.
You can pay for your purchase in instalments with the cards below.
 BonusGaranti BBVA12 instalments
 WorldYapı Kredi12 instalments
 Maximumİş Bankası12 instalments
 AxessAkbank12 instalments
 CardFinansQNB12 instalments
 ParafHalkbank12 instalments
 AdvantageHSBC12 instalments
 BankkartZiraat Bankası12 instalments
 Sağlam KartKuveyt Türk12 instalments
The instalment amount and any interest are shown at the payment step according to your card.
Reviews are taken from our Google Business Profile. You can write a review on Google about the product you bought from us.
4.7 87 reviews
Reviews are taken from our Google Business Profile.
Yiğit Alüminyum has been manufacturing aluminium profiles since 2007. See our production process, from die to dispatch.
View the production process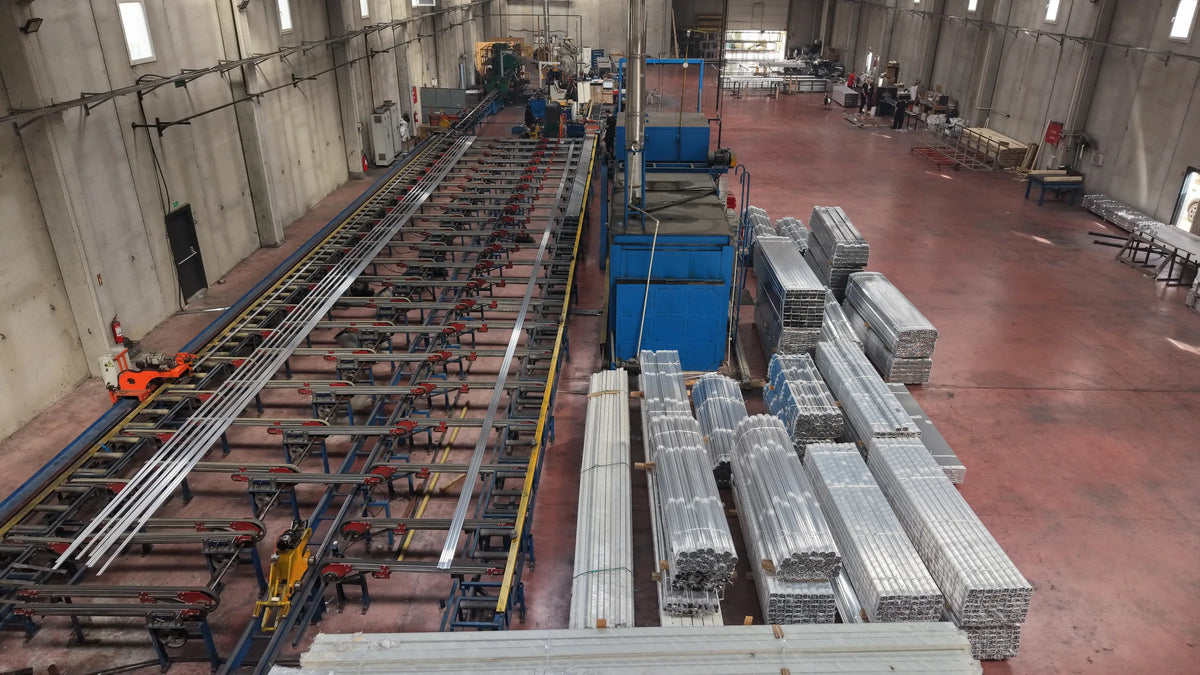
We use only essential cookies, which are needed for the site, the cart and your order to work. For details, see: Cookie and Explicit Consent Notice